Pages

Showing posts with label Fun with Food. Show all posts

Wednesday, December 14, 2011

Milk Carton "Ginergerbread" Houses

Every year in preschool around Christmas time Cannon would come home with a simple house he had made.  I thought the idea was too great not to share.

Using graham crackers instead of actually making gingerbread sounds like something way more realistic, doesn't it?

So if you are looking for a quick and easy Christmas craft with your kids, give this a try.  Cannon is so proud of his every time!

Thursday, March 17, 2011

How to Make a Dinosaur Cake

I am just going to give a warning before you read this post.
This is simply how to MAKE a very easy dinosaur cake,
NOT how to DECORATE the cake.
For Cannon's 5th Birthday I let him decorate his own cake.
Which if you ask me was the best part of the whole thing!

Here is the finished result:
How to Make a Dinosaur Cake

And here's how to do it:
You will need:
1 cake mix (I used one from a box)
- One 8 or 9" cake pan
- Muffin Tin
- 1 small - medium glass (ovenproof) bowl

Prepare the cake according to the package directions.

Thoroughly spray the bowl, cake pan and 4 muffin cups with cooking spray.

Use half of the batter to fill up the 8-9" cake pan.

Fill 4 muffin cups with batter

Pour the remaining batter into the ovenproof glass bowl (make sure you use a bowl that is large enough - you don't want cake flowing over the edge.  I put mine on a cookie sheet just to be safe).

It should look something like this:

Now put those all in a 350 degree oven.
** Note that the cooking times are going to be different for each.  Check the cake box for cooking times for the cupcakes and round.
I put them all in at the same time, and took the cupcakes out as soon as they were done, and then took the cake pan out when it was done, and finally took out the bowl.

The bowl is going to have to cook for the longest amount of time, since it will be the thickest.  I had to cook mine for about 40 minutes.  Just poke a butter knife in there and make sure that it comes out clean (same as the toothpick concept).

Let everything cool completely.

Now for the assembly:
The bowl cake is going to go down first, and will be the main body of the dinosaur.  I used frosting to hold it in place.
(**You may have to cut the top of the cake to ensure that it is flat)

Cut the tops off of the cupcakes, leaving them in-tact and set aside.
Now cut each cupcake in half, making a moon shape so it will fit around the body (they are going to be the hands and feet):

Now use the cupcake tops to form the head and the neck:
One top is cut in half to form the neck.
The other half of that piece connects to the neck to hold up the head (the 'nose' and 'head' are each one cupcake top).

Now use your round cake and cut out a tail.  I followed along the edge so the tail would curl around, like so:

And there you have it!
Cannon wanted it blue with green, so we used blue frosting with green sprinkles:

He also informed me that it needed "spikes", which ended up being chocolate covered almonds.
He went a little spike crazy but he had a great time doing it and he LOVED the end result!

He spent a long while admiring his work...

Happy Birthday Cannon!

Thursday, October 28, 2010

Mint Chocolate Frankenpops

I was really looking forward to making these with my kids.
I was all ready for them to get covered in sticky marshmallows and chocolate and have a blast doing it.
But of course, things never go according to plan.
They preferred to sit and watch, and didn't want to touch anything.
Maybe you will have more success than me.
(Even though I did have a lot of fun making these cute little Frankenstein monsters all by myself!)

Mint Chocolate Frankenpops
These would be great to have kids decorate at a Halloween party, or to hand out to friends, or to just make at home (like us).
They come together quiet quickly, and are pretty scrumptious.

Here's what you'll need:
- large marshmallows
- mint chocolate chips OR white chocolate, mint flavoring and green food coloring
- chocolate chips
- toffee bits
- sucker sticks

Here's how:
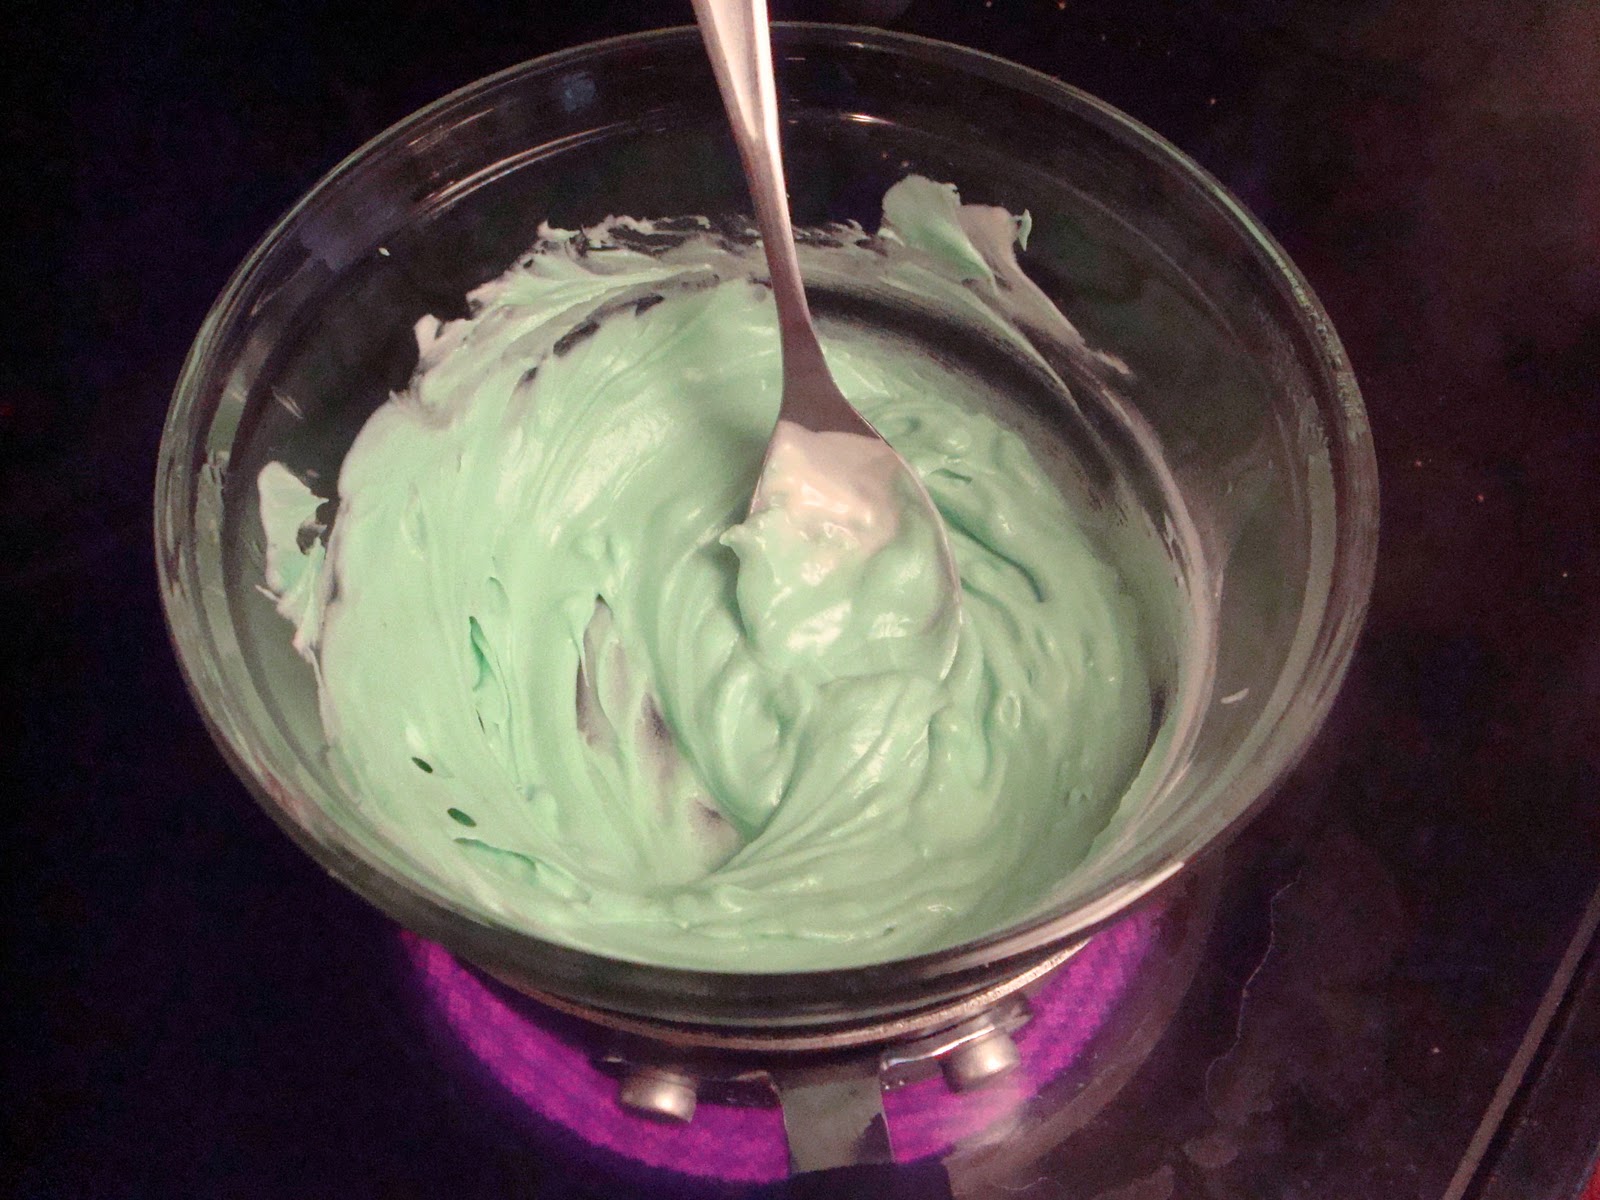
Start by melting your chocolate:

I used white chocolate, so I ended up adding a few drops of green food coloring and some mint extract.


Once your chocolate is melted, assemble everything else.
Make sure you have some sort of contraption that will allow your 'pops' to stand up straight.  I poked some holes in a paper bowl - it worked great.

Now, poke a sucker stick in the middle of a marshmallow:

Use a spoon or knife to 'frost' the chocolate over the marshmallow.  Make sure you get the outside and the top completely covered.

Now add your regular chocolate chips to the top - they remind me of little curls...

Take two chocolate chips and cut the tops off.
Use the flat portions as the eyes.

Then grab some toffee chips and stick those in for the teeth.

Continue decorating the rest of your marshmallows.

You can even dab a toothpick in the chocolate and make pupils for the eyes...

That is the perfect Halloween sucker if I do say so myself!

Have fun!

Thursday, July 29, 2010

Edible Fingerpaint

This is the perfect activity for the messy little artist at your house.

Not to mention easy, cheap and fun!

Edible Fingerpaint
Quick reference recipe can be found here.
5 1/2 Tbsp. sugar
3/4 c. cornstarch
3 c. cold water
food coloring
flavoring

Here's How:
Start by mixing your sugar and cornstarch together in a saucepan.
Over medium heat, add the water and whisk to combine.
Cook, stirring occassionally, until slightly thickened (do not overcook, you still want it runny).
It should look like this:

Next, decide how many colors you want and place that many bowls on a cookie sheet lined with ice cubes;
this will help cool it down quickly so it won't burn any little fingers...

Ration out the mixture.
Add food coloring and flavoring to each bowl.
You can do individual flavors for each color; ie: green = mint, or you can do them all the same.  I made mine all almond flavor.  You could also opt out of the flavor all together, but it won't be nearly as fun.

Now, mix them up...

By this time they should be cool enough (but still warm) to handle, so have at it:


The older ones preferred to paint with the spoons, but the 2 year olds got the idea.


This recipe makes more than enough for 4 kiddo's to make plenty of paintings.

Especially when one of them insists on simply spooning as much as possible onto the paper...

The younger kids lasted about 15 minutes.

The older ones couldn't get enough of it!
I would count on a good hour or so for them.


I stripped down the boys and put an apron on Rylie, but they were all suprisingly clean painters.
This was my first time making it and I was worried about staining.  Next time I won't take all the precautions.
It all cleaned up really nicely.

Another cool idea would be to let them paint a mural in the bath tub.
Next time...

The ones that weren't so heaved with paint that the paper literally dissolved turned out great!


Have fun!

Thursday, April 8, 2010

Playdough Cookies

Do your kids love playdough?
How about helping you out in the kitchen?
If so they are sure to love this activity.

Playdough Cookies

This is an easy sugar cookie recipe that is dyed to make it look like playdough.
Perfect for the little cooks that live at your place...
You can find the recipe here.

Start by rolling the dough into small balls (be sure to make them all the same size).

Then take one ball of each color,

and squish them together.


Then roll it out (like a snake),

and then wind it up like a lollipop
(good fine motor exercise as well).

Poke a sucker stick in there, bake it, and you're done!

Super easy...
...great results