Pages

Showing posts with label animals. Show all posts

Wednesday, December 5, 2012

Super Simple Christmas Crafts

This is an accumulation of some incredibly easy Christmas crafts that could keep you and your kids entertained through these cold December days.  They are all pretty self explanatory:

Candy Cane Rudolph 
Paper Cup Christmas Tree

 This one was made into a photo/card holder:


Pine cone Ornament
 (with gold glitter glued to the edges)

Felt Stocking


Wednesday, November 30, 2011

Hand and Foot Reindeer Prints

Last year Lincoln's fabulous nursery leaders made us these cute Reindeer Prints for Christmas.

Brown and white paint, a red pompom or button, and your little ones prints are all you need!
Such a cute idea...

Wednesday, November 16, 2011

Turkey Hats

Turkey hats are a fun Thanksgiving craft that your kids can wear around and show off.

This particular one is SUPER ADORABLE and fairly easy to make.

Here is what you will need:
I didn't measure anything; I just sort of eye-balled it:
- two brown strips (to measure around the child's head
- one brown circle (for the turkey head)
- 4 colored feathers
- one set of eyeballs
- one red waddle thing (whatever it is called)
- two red feather 'hands'
- one yellow diamond (for the beak)
- one sturdy strip of cardstock (for the neck)

Putting it all together is pretty self explanatory:
Measure the brown strips around the child's head, and tape/glue everything else together:

Fold the diamond in half so the beak can open and close, and use the cardstock "neck" to make the turkey's head wobble:

And that's it!


If this seems a little too ambitious for you:
They can be as easy as you'd like.

This one was made by my friend while she was watching Cannon for a playgroup.  She had him tell her 3 things he was thankful for and wrote them on the feathers.

Either way my kids have enjoyed them.

Wednesday, November 9, 2011

Paper Turkeys

Here are some quick craft idea's for making your own paper turkeys:


Wednesday, November 2, 2011

Turkey Handprints

The turkey hand print idea has been around forever.
At least I was doing it when I was a kid...

This particular one came from Cannon's pre-school last year.
The poem makes it perfect to give as a gift:
Poem Reads:

This isn't just any turkey,
As anyone can see.
I made it with my hand,
which is a part of me.
It comes with lots of love,
Especially to say - 
I hope you have a very
Happy Thanksgiving Day!!!

Or try this one:

And of course just your plain old hand dipped in paint!

If you are afraid of letting your kiddo dip the entire palm of his hand in paint you can always just trace it on colored paper or let them color it in themselves.

Wednesday, October 26, 2011

Painted Paper Plate Fish Craft

This is an incredibly easy craft that requires hardly any materials (or time).
Pretty self explanatory...

Materials Needed:
Paint
Paper Plate
Google Eye
Brad
Scissors

Painted Paper Plate Fish Craft
Use the brad to hold the tail on so it can 'swim'.

Thursday, March 17, 2011

How to Make a Dinosaur Cake

I am just going to give a warning before you read this post.
This is simply how to MAKE a very easy dinosaur cake,
NOT how to DECORATE the cake.
For Cannon's 5th Birthday I let him decorate his own cake.
Which if you ask me was the best part of the whole thing!

Here is the finished result:
How to Make a Dinosaur Cake

And here's how to do it:
You will need:
1 cake mix (I used one from a box)
- One 8 or 9" cake pan
- Muffin Tin
- 1 small - medium glass (ovenproof) bowl

Prepare the cake according to the package directions.

Thoroughly spray the bowl, cake pan and 4 muffin cups with cooking spray.

Use half of the batter to fill up the 8-9" cake pan.

Fill 4 muffin cups with batter

Pour the remaining batter into the ovenproof glass bowl (make sure you use a bowl that is large enough - you don't want cake flowing over the edge.  I put mine on a cookie sheet just to be safe).

It should look something like this:

Now put those all in a 350 degree oven.
** Note that the cooking times are going to be different for each.  Check the cake box for cooking times for the cupcakes and round.
I put them all in at the same time, and took the cupcakes out as soon as they were done, and then took the cake pan out when it was done, and finally took out the bowl.

The bowl is going to have to cook for the longest amount of time, since it will be the thickest.  I had to cook mine for about 40 minutes.  Just poke a butter knife in there and make sure that it comes out clean (same as the toothpick concept).

Let everything cool completely.

Now for the assembly:
The bowl cake is going to go down first, and will be the main body of the dinosaur.  I used frosting to hold it in place.
(**You may have to cut the top of the cake to ensure that it is flat)

Cut the tops off of the cupcakes, leaving them in-tact and set aside.
Now cut each cupcake in half, making a moon shape so it will fit around the body (they are going to be the hands and feet):

Now use the cupcake tops to form the head and the neck:
One top is cut in half to form the neck.
The other half of that piece connects to the neck to hold up the head (the 'nose' and 'head' are each one cupcake top).

Now use your round cake and cut out a tail.  I followed along the edge so the tail would curl around, like so:

And there you have it!
Cannon wanted it blue with green, so we used blue frosting with green sprinkles:

He also informed me that it needed "spikes", which ended up being chocolate covered almonds.
He went a little spike crazy but he had a great time doing it and he LOVED the end result!

He spent a long while admiring his work...

Happy Birthday Cannon!

Thursday, December 9, 2010

Yarn Octopus

I have a box in my office, and I try to keep it stacked with bagged activities in case I am ever in the need of something instantly.

Well, the other day Cannon asked to play with an octopus.
I didn't have one of those lying around.

But I did have the materials to make one in my handy little box:

Materials Needed:
- Yarn
- Ribbon (to tie around neck)
- Two small buttons (for the eyes)
- String (for the smile)
- small ball (ping-pong or golf ball size)

Step 1:
Cut 24 pieces of yarn into equal lengths (about 1 1/2 - 2 feet long)
Make them into a spider web.

 Wrap the middle section around your ball and tie the neck off with your ribbon:

Glue the eyes and mouth on.
You should have enough strings to make 8 braids (6 strands per braid).

I pretty much won the "awesome mom of the day award" for actually producing an octopus upon request.
It was pretty easy, too.

Thursday, November 11, 2010

Old Lady who Swallowed a Fly Puppet

Cannon's preschool class focuses on one book each month, and coordinates their activities around it.
They just finished There was an Old Lady who Swallowed a Fly.
The main concept they were teaching was size.

He came home with this puppet, and told me the story over and over (and over) again.
I was amazed at how well he had picked up the details.

I've included the story, if you don't have the book.
Either way it would be a fun craft to recreate at home, and a great way to teach small vs. big, big vs. bigger, etc.

I Know an Old Lady who Swallowed a Fly

They decorated paper bags by adding a head, cotton balls for hair, and tiny decorative balls for earrings (which were my favorite part).

On popsicle sticks they attached the individual animals:


You will need a fly, spider, bird, cat, dog, goat, cow and horse.


Like I said, it was easy to practice sizing them up...

 The little old lady's head was only secured to the front of the bag, so the animals could be eaten.

 He loved loved loved this!

I did some researching online, and found this website that has some printables if you want to make your own.
Here is the story, if that is all you need.

Enjoy!

Thursday, September 23, 2010

Camping at Albion

The in-laws go on an annual camping trip.
We went to Albion Campground just above Alta and Brighton Ski Resorts this year.

We stayed in campground #10.
The best part?
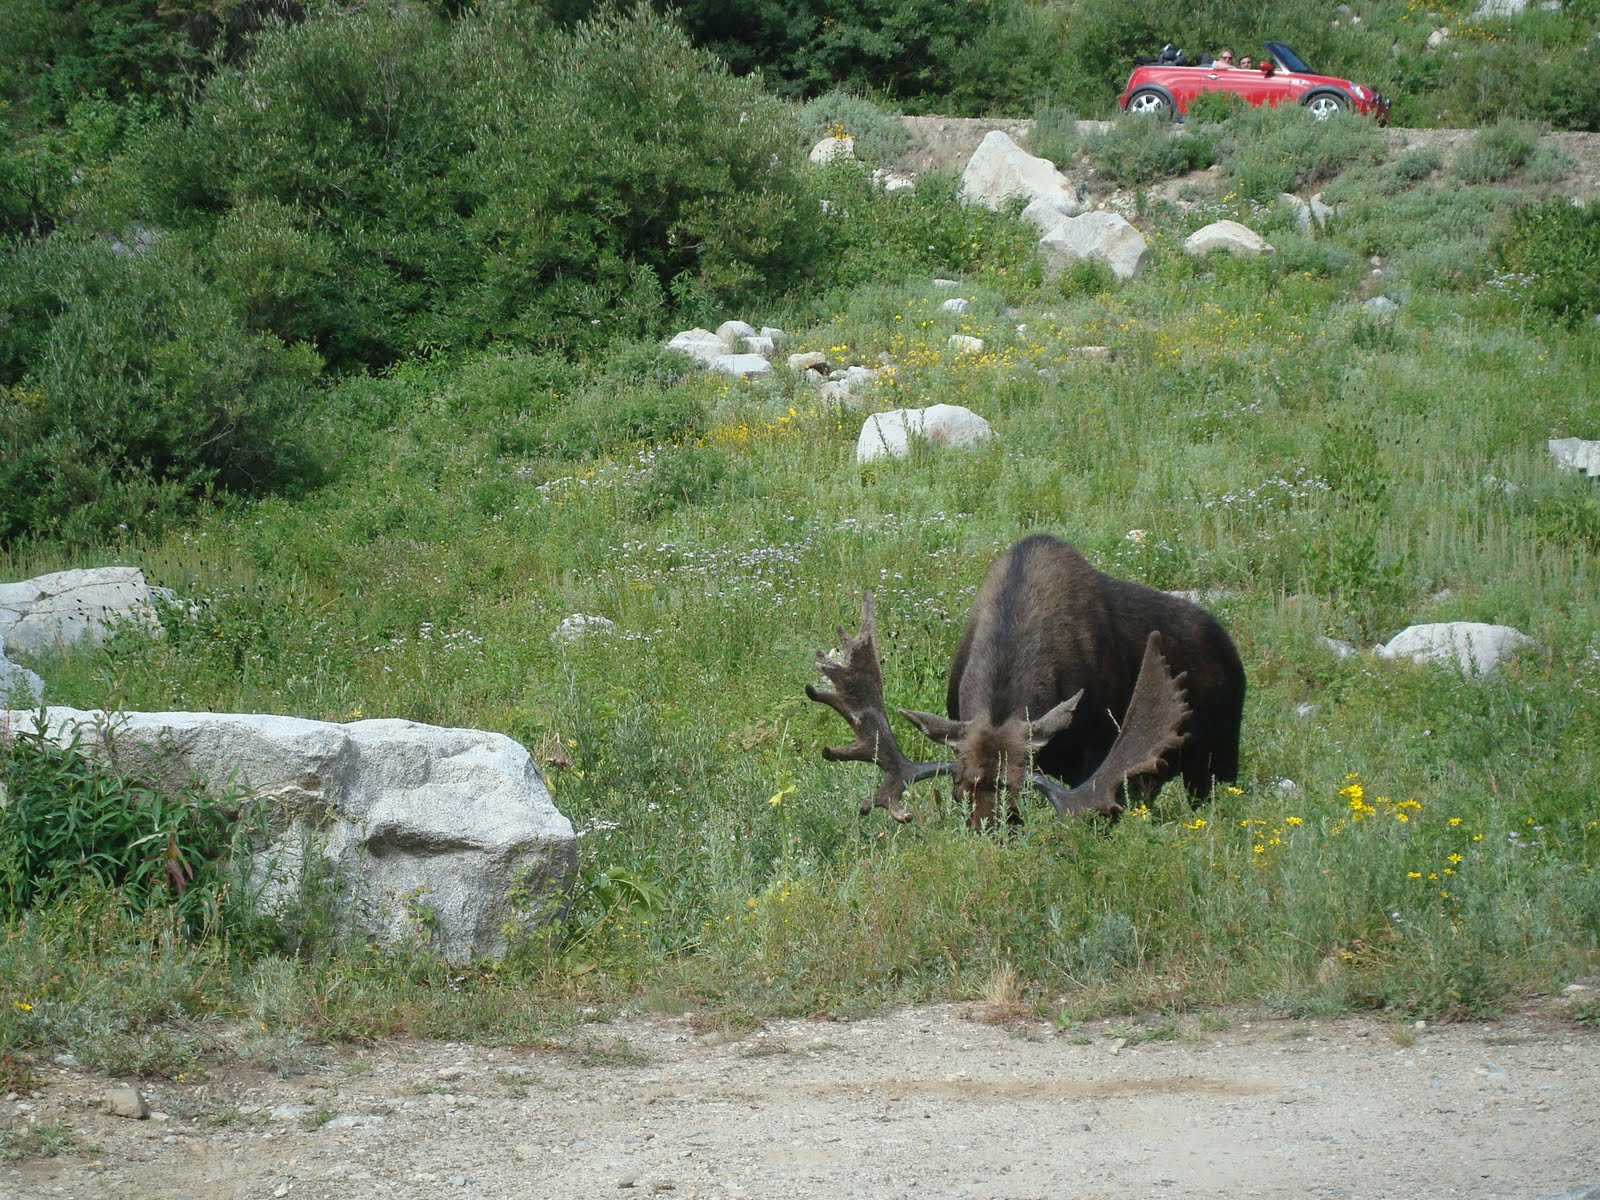
The moose that lives in gampground #12.

He was a daily occurance, with an occasional glimpse of the mommy and baby.


Even though it happened to snow on us, the boys had a great time.


We took one day to hike to Cecret Lake.
The trail is very wide and my two year old made it almost the entire way on foot.


We turned around near the top (ran out of time), but it was definitely good enough to go back.
Sorry for the lack of pictures, though.

However, on the way down we of course saw the moose again...


So, if you are looking for a beautiful camping spot, or just a day to go hiking, Albion would be a great choice.

Here's how to get there:
Make your way up the canyon to Alta ski resort.
Stay on that road, passing Alta, and follow it all the way up to the top.
There is a ranger station just after the resort, if you need directions.

Have fun!